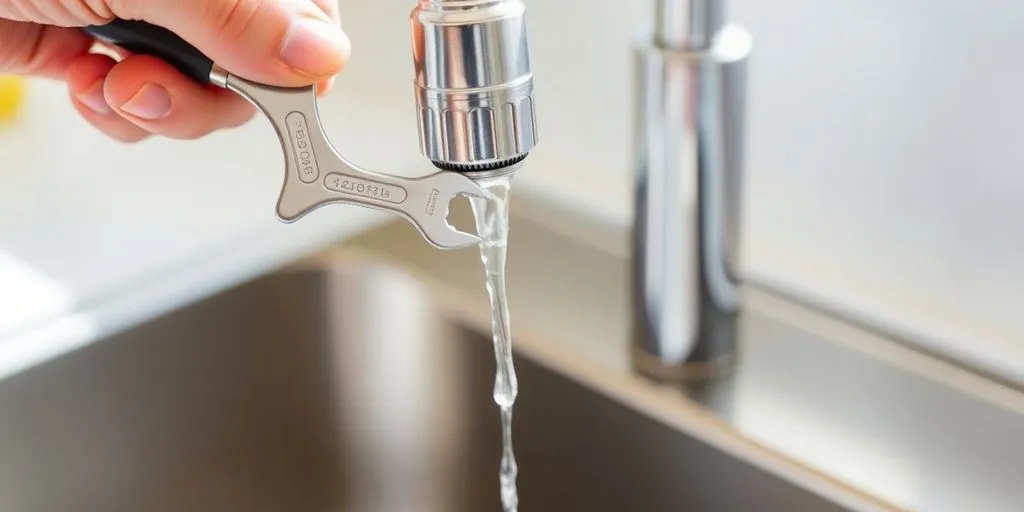
When most people experience poor water pressure, a strange odor, or fine “specks” in their water, they immediately blame the city or their landlord. However, in over 70% of cases, the problem isn’t located miles away or even in the basement—it’s located right at the tip of the faucet. The aerator, that small mesh screen screwed onto the end of your tap, is the most overlooked component of the modern plumbing system. At Know Your Tap, we believe that aerator maintenance is the single most effective way to improve your home’s water quality. Understanding the role of the aerator is a foundational part of apartment plumbing basics.
The Function and Biology of the Mesh
The aerator has three primary jobs: it shapes the water into a cohesive stream, it reduces splashing, and it conserves water by mixing air into the liquid. However, that fine mesh also acts as an accidental “final filter.” It traps every piece of rust, mineral scale, and construction debris that manages to travel through your building’s risers. Over time, these trapped particles form a layer of “silt” that can house biofilm—a community of microscopic bacteria. This biofilm can impart a “musty” or “earthy” scent to every glass of water passing through it, leading residents to believe their water supply is contaminated. This is a classic fixture-side quality issue. The aerator is literally the “front line” of your home’s water defense.
The Chemistry of Aerated Odors
Why does the smell seem stronger at the kitchen sink than in the bathtub? This is because the aerator’s job—mixing air into the water—volatilizes the organic compounds. As the water is broken into millions of tiny droplets, the surface area increases, allowing the “musty” odors trapped in the biofilm to escape into the air you breathe. This is a purely physical phenomenon. If you remove the aerator and the smell vanishes, you have absolute proof that the issue is localized to that specific fixture’s biological growth. This simple “removal test” is the most effective diagnostic tool in any home. Understanding the physics of volatility is the key to debunking “contaminated water” myths. Your nose is your best tool for fixture isolation.
Aerator Silt as a Diagnostic Tool
The material found inside your aerator is a technical report on the health of your building. If the silt is dark black and smears, your rubber flex lines are degrading. If it is high-grit sand, there is a street-side leak. If it is white and chalky, your water heater is failing. At Know Your Tap, we encourage residents to “save their silt” in a small jar. This physical evidence is invaluable when speaking to a landlord who claims “the water is fine.” It turns an aesthetic complaint into a technical demonstration of infrastructure failure. The aerator is not just a part; it’s a sensor.
The Mystery of “Phantom” Low Pressure
If your bathroom sink has strong pressure but your kitchen sink feels like a trickle, the culprit is almost certainly a clogged aerator. The accumulation of fine sediment (mostly iron from aging street mains) physically blocks the mesh, restricting the flow. Because this happens gradually over months, many residents “get used” to the low pressure without realizing a 5-minute cleaning could restore a powerful stream. This is why aerators are the first thing we check in our plumbing diagnostic guide. A simple unscrewing of the fixture can reveal a “mountain” of grit that has been choking your utilities for weeks. Restoring flow is often as simple as a quick rinse.
The Correct Cleaning Protocol
Cleaning an aerator is a simple task that requires no special tools. Use a pair of pliers (protected by a cloth to avoid scratching the finish) to unscrew the aerator. Disassemble the internal screens and soak them in a bowl of white vinegar for thirty minutes. The vinegar will dissolve the mineral scale (calcium) and loosen the biological film. Rinse the screens under a high-pressure stream of water to clear the grit, reassemble, and screw it back on. This routine should be performed at least once every three months, especially if you live in an area with older infrastructure like Jersey City or Brooklyn. Neglecting this is the primary cause of the issues documented in the EPA-mandated consumer reports for most urban areas. Routine maintenance prevents permanent fixture damage.
Conclusion
Aerators may be small, but their impact on your daily life is massive. By recognizing them as the “overlooked” source of odors, low pressure, and sediment, you can solve most of your home’s water issues without a single service call. Know your fixtures, know your maintenance, and always Know Your Tap. A clear aerator is the window to clear water. Don’t let a small screen stand between you and the quality you deserve. At Know Your Tap, we empower you to take charge of the small things that make a big difference. Your faucet’s health is the foundation of your home’s comfort.